前言
参考文章:[原创]关于不同版本 glibc 更换的一些问题-Pwn-看雪论坛-安全社区|安全招聘|bbs.pediy.com
在 CTF 中,我们会遇到许多提供 libc 的 Pwn 题,通常情况下我们需要在给定的 libc 环境下调试我们的 exp。
相关插件安装
glibc-all-in-one
git clone https://github.com/matrix1001/glibc-all-in-one
patchelf
NixOS/patchelf: A small utility to modify the dynamic linker and RPATH of ELF executables
git clone https://github.com/NixOS/patchelf
cd patchelf
./bootstrap.sh
./configure
make
make check
sudo make install
glibc 替换
运行 libc-xx.so,查看 glibc 版本
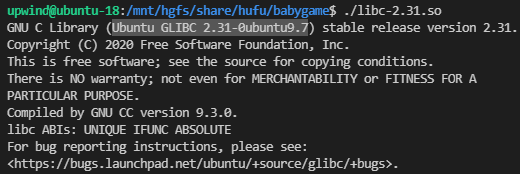
如果题目给的文件不能直接运行,那么就用 strings xxx | grep "Ubuntu GLIBC" 查看 glibc 版本。

通过 glibc-all-in-one 下载对应的 glibc
获取 glibc 的方法有镜像站手动下载和自动化工具下载,这里我们使用自动化工具 glibc-all-in-one 来下载获取 glibc 及其符号表。
cd glibc-all-in-one
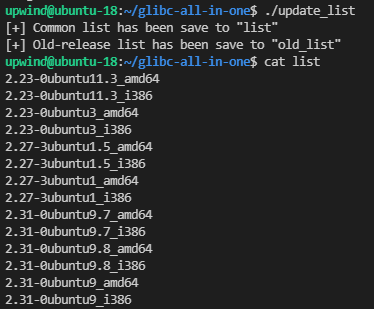
./update_list
#更新libc列表
cat list
cat old_list
如果在 ./update_list 时报错:
bash: ./update_list:/usr/bin/python:解释器错误: 没有那个文件或目录
则把文件开头的 #!/usr/bin/python 改为对应的 python3 路径。
如果在 list 和 old_list 中都没有需要的 glibc 文件(不是 release/security/updates 版本的 glibc),可参考后文手动下载 glibc 进行替换。
#use download for packages in the list; use download_old for packages in the old_list.
./download 2.31-0ubuntu9.7_amd64
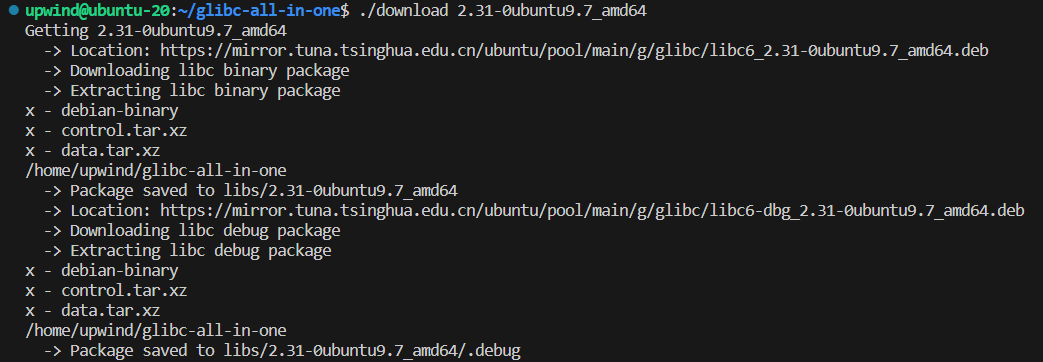
glibc-all-in-one 将所需 libc 的 deb 包下载到 debs 目录中,并将 libc 文件解压到 libs 目录的对应文件夹中。
脚本还会下载 libc6-dbg 版本,也就是带符号表的 libc 文件,并解压到对应文件夹的 .debug 目录中,这样 gdb 加载 libc 之后会自动加载 .debug 目录下的符号表。

通过 patchelf 修改 elf 文件
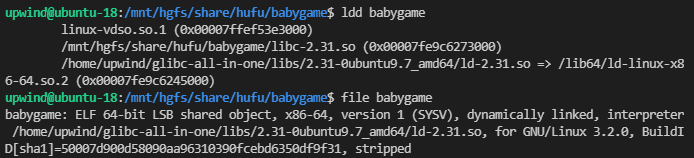
在修改前使用 ldd 和 file 列出文件的动态库依赖关系:
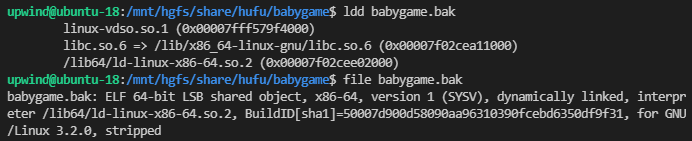
通过 patchelf 修改 ELF 中硬编码的 libc 和 ld 的路径。
patchelf --set-interpreter /home/upwind/glibc-all-in-one/libs/2.31-0ubuntu9.7_amd64/ld-2.31.so ./babygame
patchelf --replace-needed libc.so.6 /mnt/hgfs/share/hufu/babygame/libc-2.31.so ./babygame
执行完 patchelf 之后,再次查看文件的动态库依赖关系:
这时 libc 就替换完成了,在 pwntools 中能正常运行,在 gdb 中也能正常调试。
glibc 源码加载
有许多下载源码的方式,这里介绍一种使用 git 版本控制的方法——使用 git clone 克隆 glibc 仓库,再 checkout 到对应版本的 tag。
git clone git://git.launchpad.net/ubuntu/+source/glibc
git checkout import/2.31-0ubuntu9.1
# git checkout import/<glibc-version>
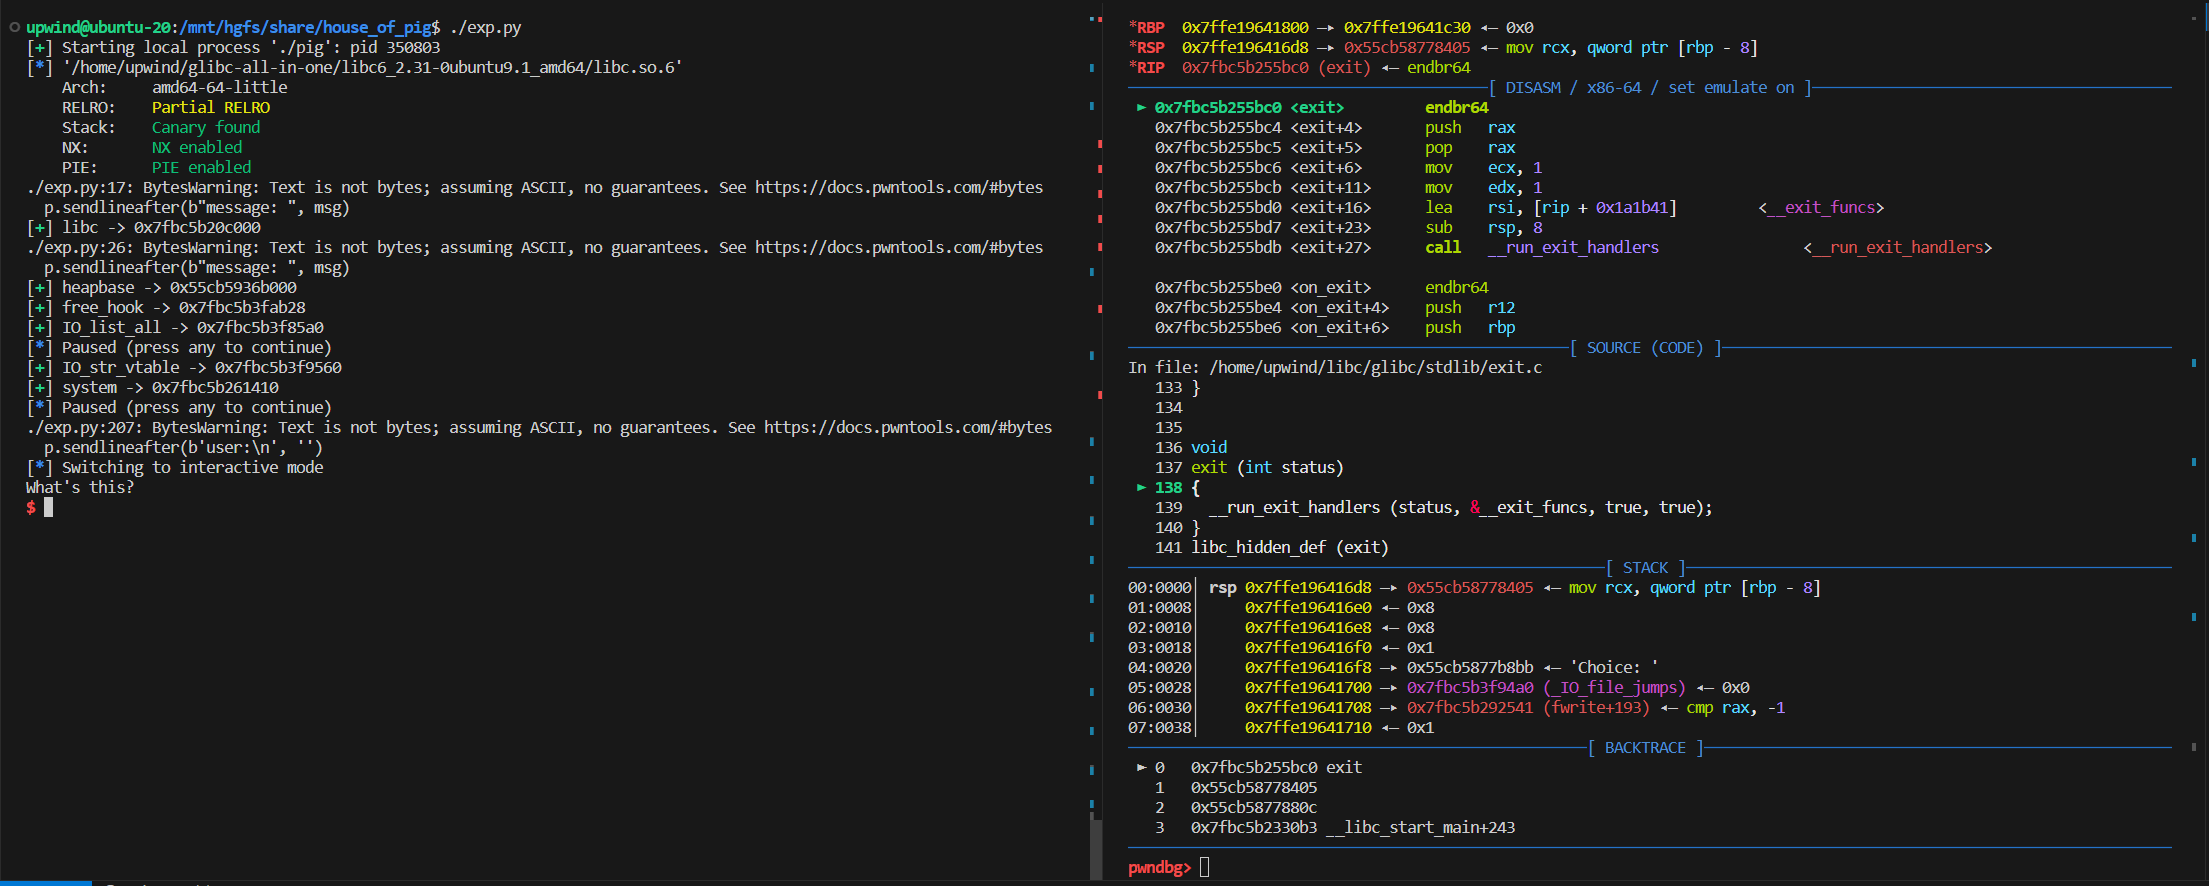
在 VSCode 或源码在线阅读网站(推荐:Bootlin,注意 glibc 版本)中搜索想要查看的函数,例如:
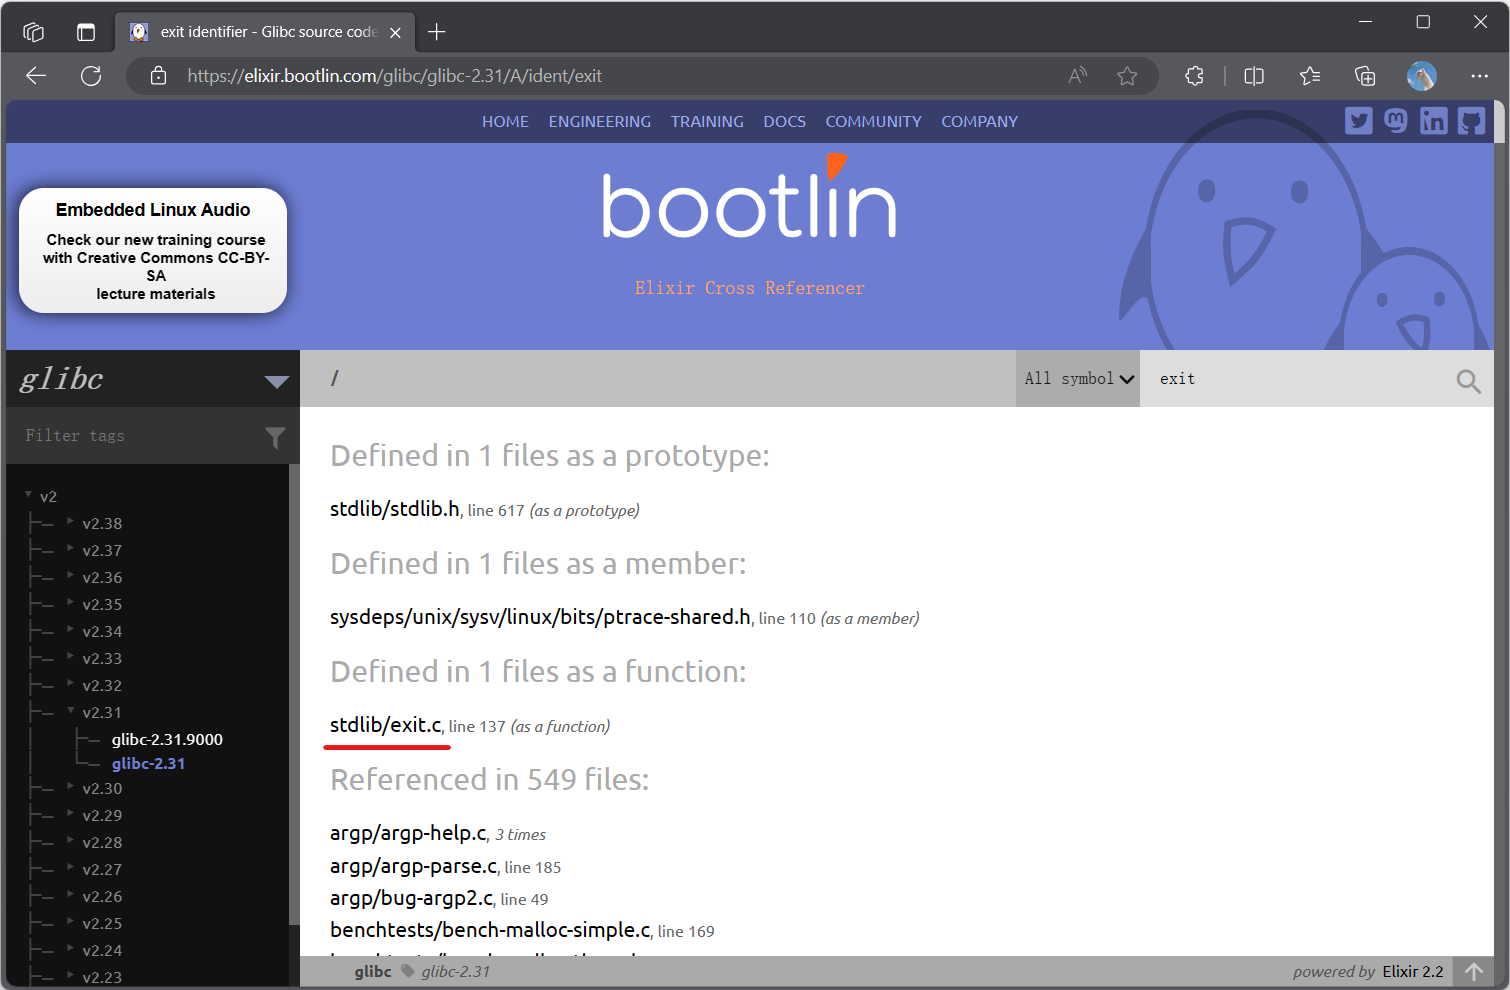
exit() 函数在 stdlib 目录的 exit.c 文件中。
接下来,把文件所在的目录写入到 .gdbinit 文件中,这样 gdb 在调试的时候就可以自动去目录中搜索源码。
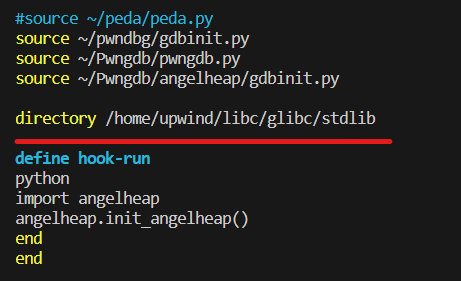
注意:gdb 不会递归搜索文件夹中的子文件夹,不能直接写 glibc 文件夹的路径。
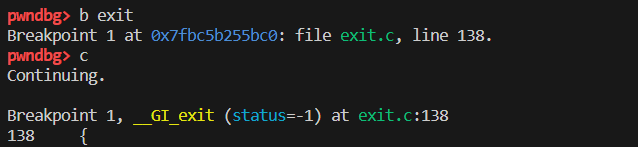
这样,结合 pwndbg,就可以在 gdb 调试中查看源码了。
其他版本 glibc 替换
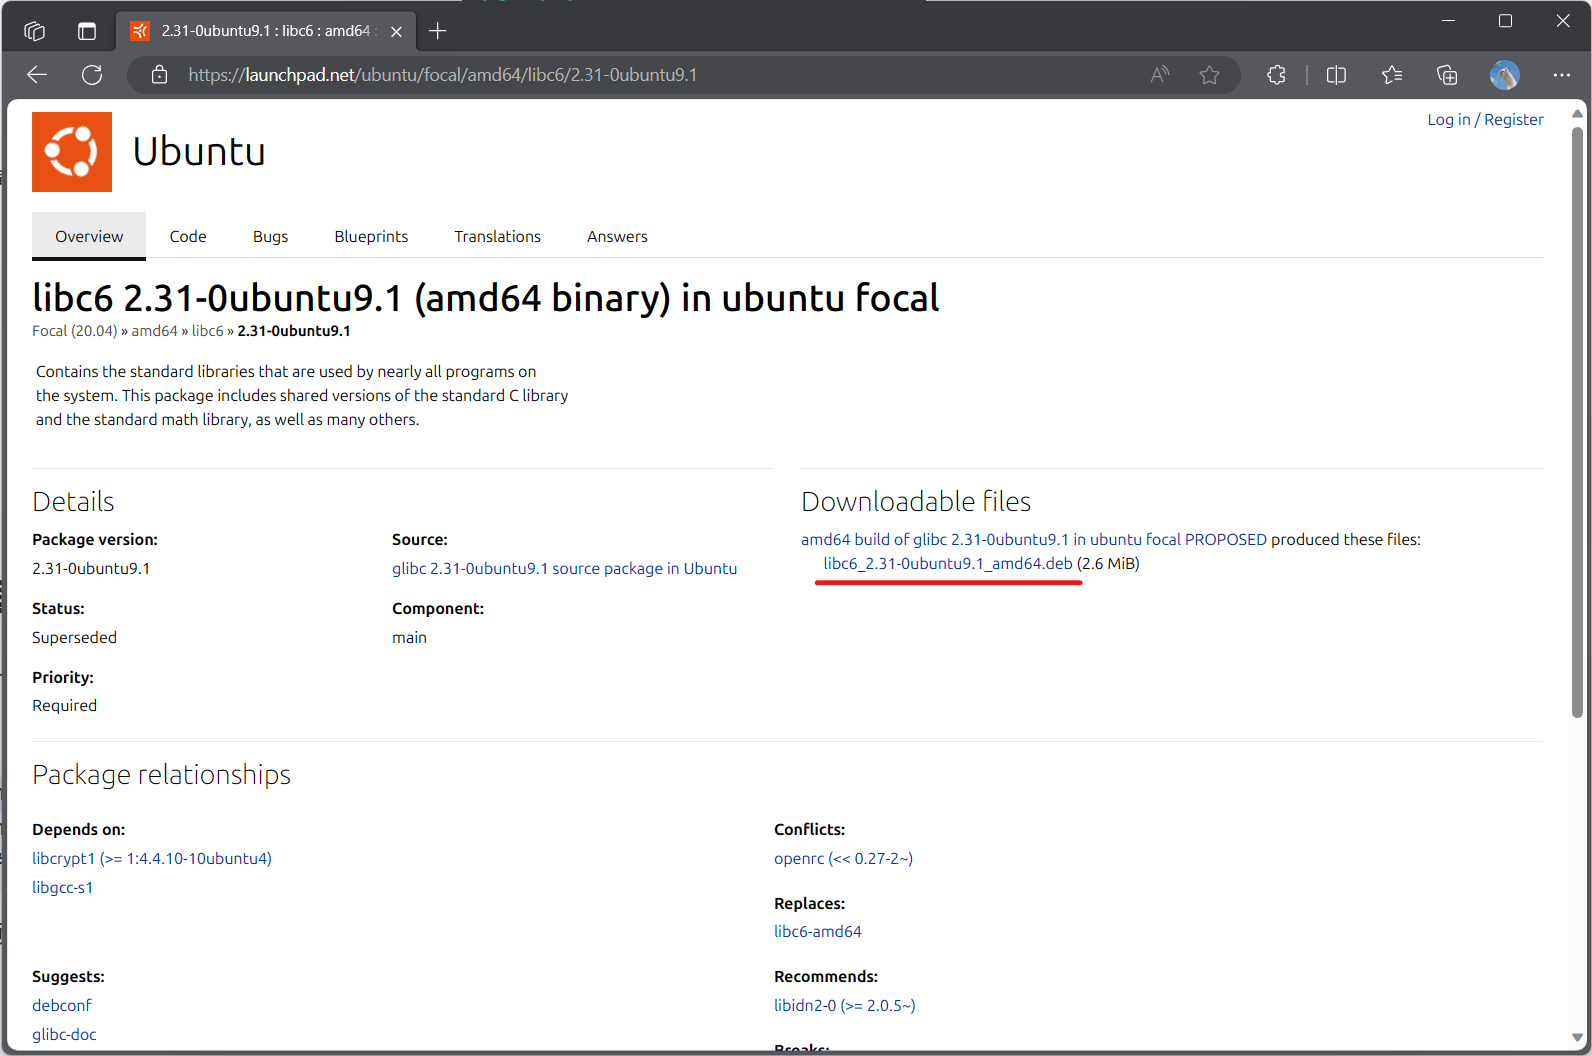
若题目提供的不是 release/security/updates 版本的 glibc,则只能手动通过 launchpad.net 下载 deb 包并解压。
以 GLIBC 2.31-0ubuntu9.1 为例,对应的下载页面为:
https://launchpad.net/ubuntu/focal/amd64/libc6/2.31-0ubuntu9.1
https://launchpad.net/ubuntu/focal/amd64/libc6-dbg/2.31-0ubuntu9.1
# https://launchpad.net/ubuntu/<ubuntu-version>/<arch>/<build>/<glibc-version>
在页面中找到 deb 文件下载链接。
下载后,通过 glibc-all-in-one 提供的 extract 脚本提取文件。
cd ~
wget http://launchpadlibrarian.net/496035825/libc6_2.31-0ubuntu9.1_amd64.deb
wget http://launchpadlibrarian.net/496035817/libc6-dbg_2.31-0ubuntu9.1_amd64.deb
cd glibc-all-in-one/
./extract ../libc6_2.31-0ubuntu9.1_amd64.deb ./libs/libc6_2.31-0ubuntu9.1_amd64
./extract ../libc6-dbg_2.31-0ubuntu9.1_amd64.deb ./libs/libc6_2.31-0ubuntu9.1_amd64/.debug/
再使用 patchelf patch 到对应目录里的 libc 和 ld 文件即可。